🍗 Classic Chicken Kiev – Complete Recipe Guide
Chicken Kiev is a classic dish with crispy golden breaded chicken and a rich, garlicky herb butter filling. Its origins trace back to Eastern Europe, particularly Ukraine and Russia, where it became popular in the 20th century. The magic of Chicken Kiev lies in the buttery filling that melts out when you cut into the perfectly cooked chicken breast. It’s elegant, flavorful, and perfect for special occasions or a hearty homemade dinner.
Here’s a full, structured guide to making authentic Chicken Kiev at home.
🧾 Ingredients Table
| Category | Ingredient | Quantity |
|---|---|---|
| Chicken | Chicken breasts | 4 large |
| Filling | Unsalted butter | 100g (softened) |
| Garlic | 2 cloves (minced) | |
| Fresh parsley | 2 tbsp (chopped) | |
| Lemon juice | 1 tsp | |
| Coating | All-purpose flour | ½ cup |
| Eggs | 2 (beaten) | |
| Breadcrumbs | 1 cup | |
| Salt & pepper | to taste | |
| Cooking | Vegetable oil | 3–4 tbsp (for frying) |
| Optional | Lemon wedges | For serving |
🍗 Step 1: Prepare the Herb Butter Filling
-
In a small bowl, combine softened butter, minced garlic, chopped parsley, and lemon juice.
-
Mix well until smooth.
-
Shape the butter into a small log, wrap in plastic wrap, and chill in the freezer for 15–20 minutes until firm.
👉 Tip: Chilled butter is essential to prevent it from leaking during cooking.
🐔 Step 2: Prepare the Chicken
-
Flatten each chicken breast using a meat mallet to about ½ inch thickness.
-
Place a piece of chilled herb butter in the center of each breast.
-
Fold the sides over the butter and roll tightly to enclose completely.
🍞 Step 3: Bread the Chicken
-
Season the chicken rolls with salt and pepper.
-
Dredge each roll in flour, shaking off the excess.
-
Dip in beaten eggs, then coat with breadcrumbs, pressing lightly to adhere.
-
Optional: Chill the breaded chicken in the fridge for 15 minutes to help them hold their shape.
🔥 Step 4: Cooking
Pan-Frying Method
-
Heat vegetable oil in a skillet over medium heat.
-
Fry chicken on all sides until golden brown (about 3–4 minutes per side).
-
Reduce heat, cover, and cook for an additional 8–10 minutes until the chicken is cooked through.
Oven Method (Optional)
-
Preheat oven to 180°C (350°F).
-
After pan-frying, transfer chicken to a baking dish and bake for 10–12 minutes.
👉 Tip: The internal temperature should reach 75°C (165°F).
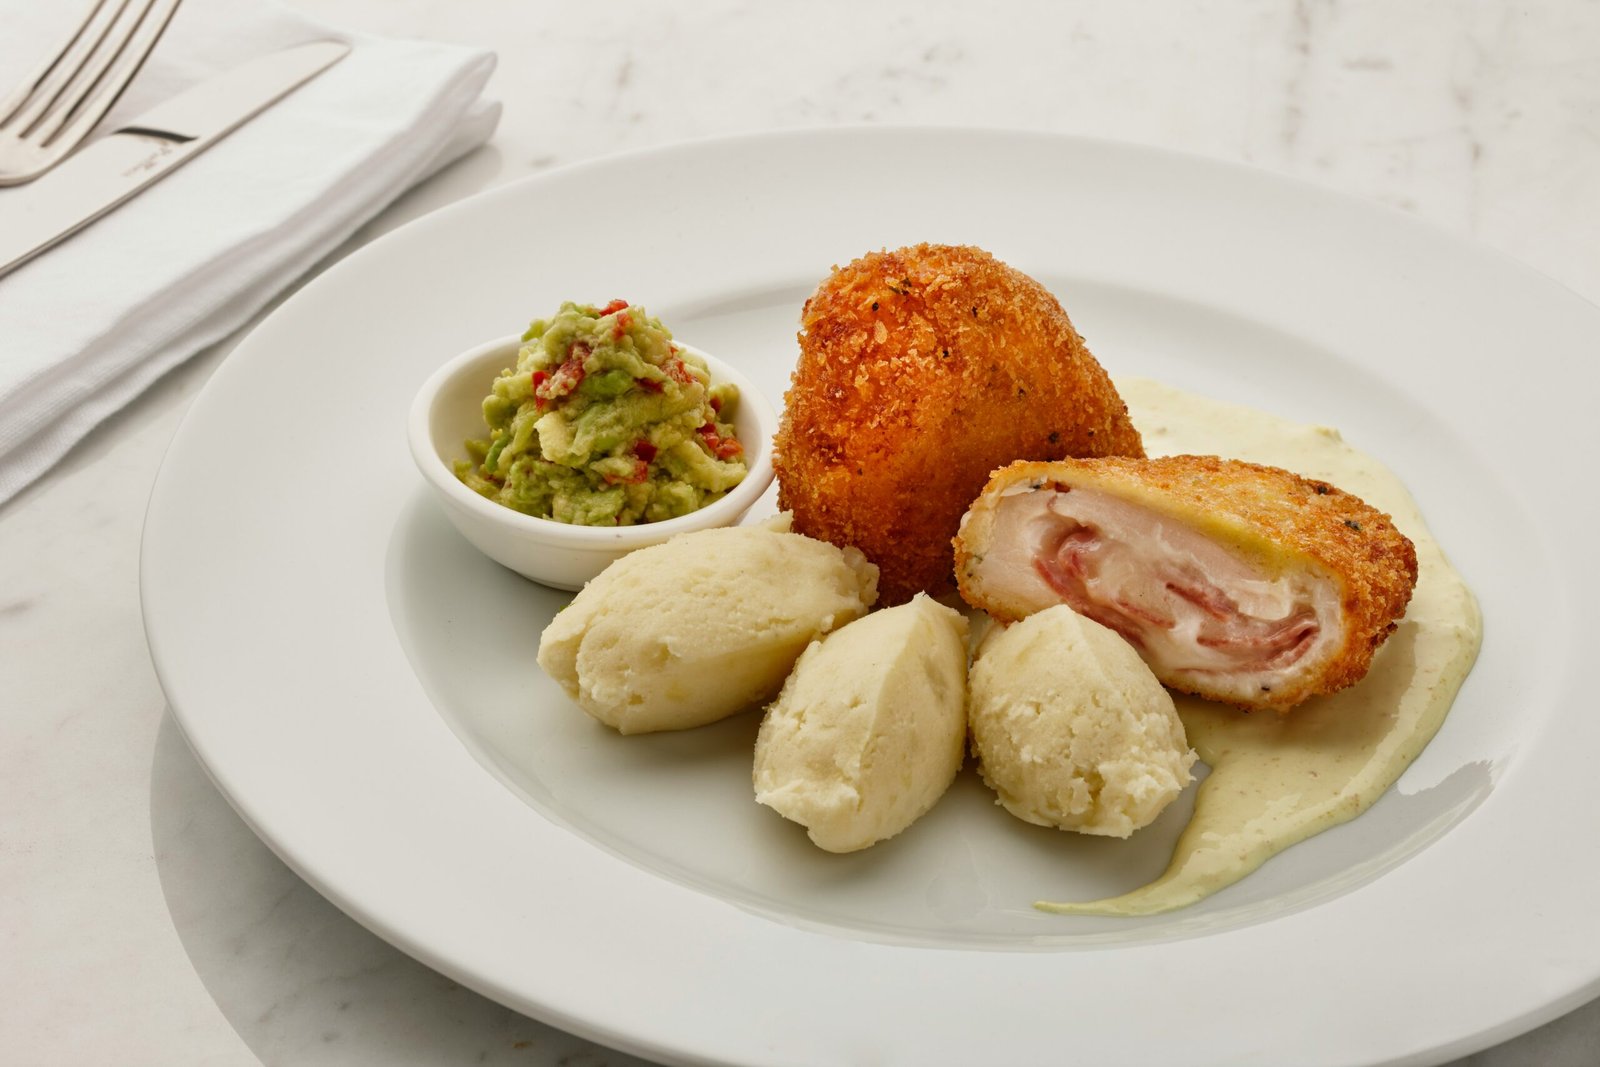
🍽️ Step 5: Serving
-
Slice the Chicken Kiev carefully to let the melted herb butter flow out.
-
Serve with mashed potatoes, steamed vegetables, or a fresh salad.
-
Garnish with lemon wedges for extra zest.
🌟 Pro Tips
-
Do not overfill the chicken with butter to avoid leakage.
-
Always seal the edges tightly for a neat presentation.
-
Use fresh breadcrumbs for extra crispiness.
-
Fry on medium heat to avoid burning the coating before the chicken is cooked inside.
🧠 Why Chicken Kiev is Special
Chicken Kiev is not just a dish; it’s a culinary experience. The combination of crispy golden crust, tender chicken, and rich, garlicky butter creates a symphony of textures and flavors. The dramatic “butter explosion” when cutting into it makes it a favorite for special dinners and festive meals.
🏁 Conclusion
Making Chicken Kiev at home may seem intimidating, but with proper preparation and patience, it’s surprisingly easy and absolutely rewarding. This classic Ukrainian dish delivers elegance and flavor in every bite. Perfect for impressing guests or enjoying a luxurious weeknight dinner, Chicken Kiev remains a timeless favorite across the globe.